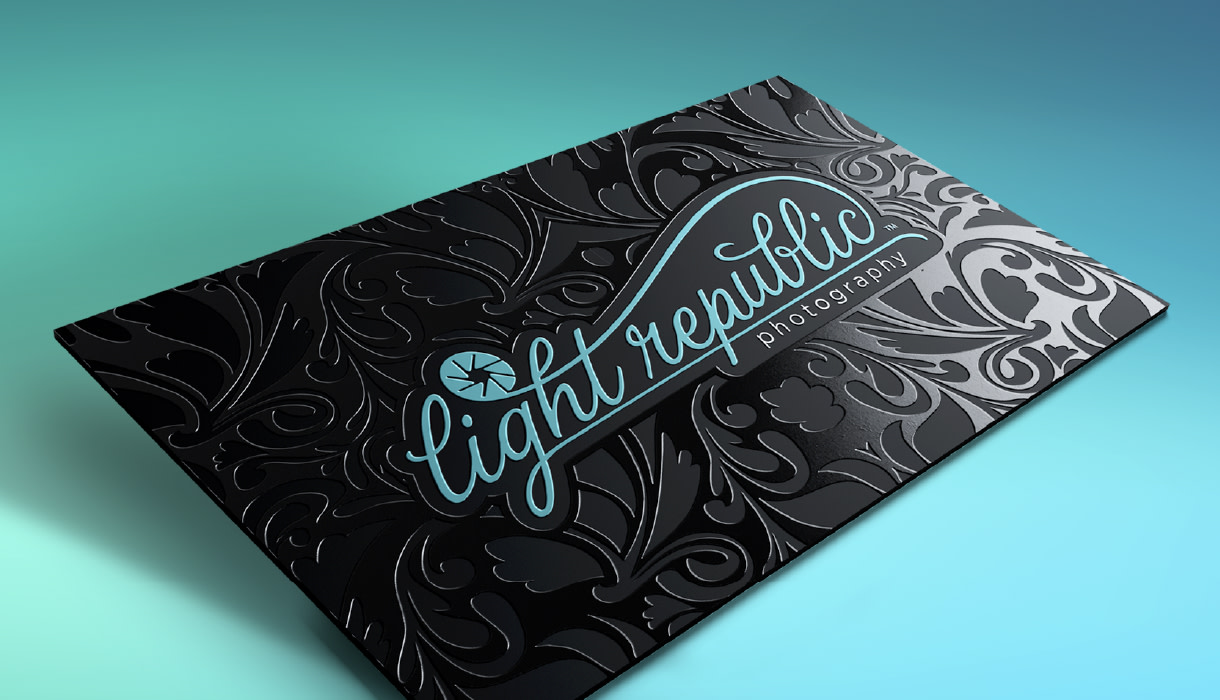
Looking to create a custom spot gloss business card? This process can be intimidating for even experienced professionals, but we’re here to take the guesswork out of it. Let us help you set up your design for spot gloss and set your brand apart.
Step 1: Set Up Your File
Create a new Illustrator document with your desired size.
In the ‘Artboards’ section, set the amount to 4.
Set the Bleed size to 0.125 inches and make sure the Color Mode is set to CMYK.
In case you’ll be adding Raster images, set the Raster Effects to ‘High (300ppi).
Click ‘Create’.

Step 2: Place Your Front Design
You now should see your 4 blank artboards.

Place the front side of your business card on the top left artboard.
Make sure to fill the Bleed with the background and keep important elements within 0.125 inches from the artboard edge to avoid any of those elements being cut off during the production process.

Step 3: Place Your Back Design
Do the same for the backside of your business card and place this in the top right artboard.

Step 4: Determine Your Spot Gloss Layers
After you placed the frontside and backside of your business card, it’s time to determine what should have the Spot Gloss treatment.

For the best results, avoid small detailed elements like thin lines and small text.

Step 5: Check The Spot Gloss Placements
Don’t forget to check if the placement of the Spot Gloss layers are correct compared to the regular print.
A quick way to do this is by copying (Cmd+C) elements from your Spot Gloss artboard, selecting the regular print artboard and then choosing ‘Paste in Front’ (Cmd+F).
If placed correctly, the pasted element should fit exactly. This will avoid any shifting between the print and Spot Gloss layer after production.

Step 6: Outline the Text
To avoid any font-related issues during production, you should convert all your text to outlines.
Select your text and go to Text > Create Outlines.

Make sure to keep a backup of a version including the editable text in case you’ll need this in the future.

Step 7: Export Files
Now you’ve checked everything and you’re happy with your design, it’s time to export all artboards correctly.
Even if you want to have Spot Gloss on 1 side only. you’ll still need to set up and export all 4 pages named correctly, even if the artboard is empty. This will avoid any misinterpretation on the production side.
So let’s head over to File > Save a Copy. Name your file and set the format to PDF.

Set the range to ‘1’ so you can create separate files for each side.
Click ‘Save’.

Choose ‘High-Quality Print’ in the Adobe PDF Preset.

In the ‘Compression’ section, make sure this is set to a minimum of 300.

In the ‘Marks and Bleeds’ section, make sure all Marks are disabled as you don’t need to add any crop marks to the PDF.

Check the ‘Use Document Bleed Settings’ option to add the 0.125” Bleed margin we added while setting up the document.
Click’ Save PDF’.

Do the same for the other 3 artboards as well so you’ll end up having 4 different PDF files, all having 1 page in it.
Ideally, your 4 files would look like this:
Business-Card_Front.pdf
Business-Card_Back.pdf
Business-Card_Gloss_Front.pdf
Business-Card_Gloss_Back.pdf
Get started with Spot Gloss business cards
That’s it! You can now upload the files and we’ll know exactly how to produce your business card with spot gloss. If you need more info, check out our spot gloss support form.


