Free Shipping!
- Overview
- Popular FAQ
Discover The Easiest Way To Print Custom Stickers Online
- Quick one-business-day turnaround
- Free shipping to the USA and Canada
- Order any size or shape
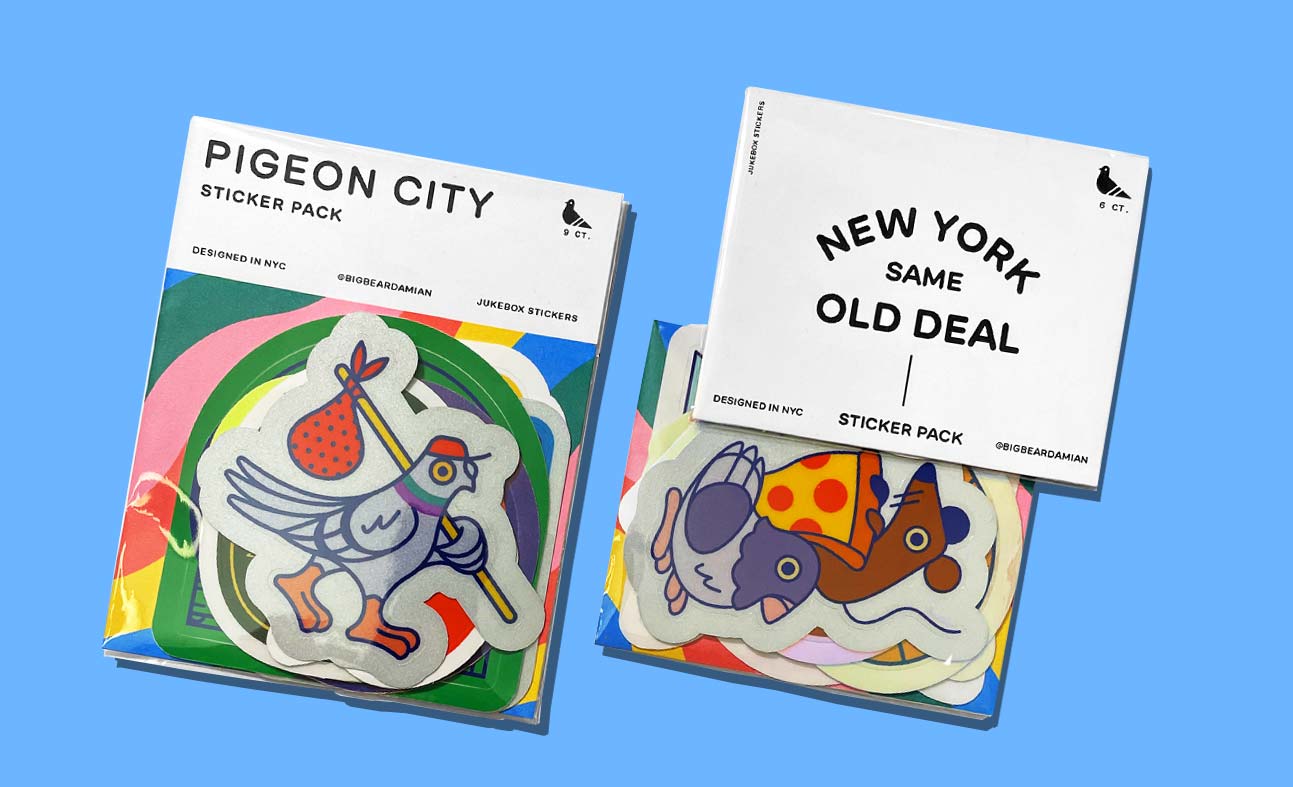
Whether you choose die cut or kiss cut stickers, our custom sticker options are extensive. With over 10 unique stocks and our popular super matte coating, your stickers will have a distinct look and feel. From simple shapes like circles and squares to intricate industry-specific designs, we can create custom stickers in any form or size you desire. Rest assured, our stickers are crafted to be robust, long-lasting, and durable. Discover the ease and convenience of our online Sticker Maker to bring your custom sticker ideas to life.
How to create Sticker Sheets in Adobe Illustrator
Sticker sheets are a fun and creative way to print a variety of your favorite illustrations on a single sheet. In this tutorial, we'll guide you through setting up your sticker sheet file perfectly using Adobe Illustrator. We’ll demonstrate the process with a popular size of 5.5” x 8.5” and take you through each step in detail. Whether you have vector illustrations or raster images, we cover both file types in this comprehensive guide.
Step 1. Setting Up Your File
Create a new document with the size of 5.7” x 8.7” and make sure the color mode is selected to CMYK and the resolution 300 DPI.
Create a rectangle in the same size of your document, set the corner radius to 0.8", and rename the layer as “ARTWORK”. Create a new layer and name it “THRU-CUT”. (The Thru-Cut is the outside cut of the sticker sheet) Place it above the Artwork layer. Create another rounded rectangle in the size 5.5” x 8.5" and apply a white stroke to it.
Step 2. Creating the Thru-Cut (Outside Cut)
The Thru-cut is the outside cut of the sticker sheet. The overall shape your sheet will have.
Create a new layer and name it THRU-CUT. Place it above the Artwork layer.
With this layer selected, create another rounded rectangle, this time the size will be 5.5” x 8.5” and again, set the curve radius to 0.8”. Remove the fill from the rectangle and add a white stroke of at least 0.25pt. That is the Thru-cut.
Step 3. Creating the Easy Peel
Paste your vector artwork into your new document, duplicate it and hide the copy.
Duplicate your vector artwork and hide it using Ctrl + 3 and then on the Pathfinder panel, select Unite. This will give you a solid shape.
Remove the fill of the shape and add a white stroke. The stroke width can be anything above 0.25pt.
With the shape selected, go to Object > Path > Offset Path.
On the Offset Path window, set the offset distance to 0.1”. This offset will be the white space between your vector artwork and the edge. To put it simple, this will be the shape of your sticker once it is peeled of the sheet. Set the joints to Round for a smoother shape and the Miter limit as default.
Now it’s time to bring our vector artwork back so press Ctrl + Alt + 3 to unhide it. Create a new layer above all and rename it as Easy Peel. Now place your new stroke shape there. Now you have an Easy Peel.
Step 4. Completing the sticker sheet
Repeat the same process with every artwork you want to add to your sheet. Make sure everything is in their proper layer.
Step 5. Exporting your file as a PDF
Save your file type as ‘Adobe PDF’. Set the Compression to ‘Do Not Downsample’, and Output to ‘Convert to Destination’ and ‘Adobe RGB (1998)’.
Have a raster image instead of a vector artwork? Follow these next steps.
Copy the raster image into your new document, duplicate it and hide the copy.
Now we need to create an Easy Peel for this so we need a vector shape. Duplicate your image and hide it with Ctrl + 3. Select the duplicate and go to Object > Image Trace > Make
On the Image Trace window, set the mode to Black and White and play around with the Treshold number. This part depends on your image and the details, but usually 254 is a good number. The most important thing is that the black shape is the same shape as your image.
Click on expand so you have a vector shape and remove the white areas.
Remove the fill of your new shape and add a white stroke to it.
Just like before, go to Object > Path > Offset Path and set an offset of 0.1”.
Unhide the image with Ctrl + Alt + 3 and make sure the Easy Peel is in the Easy Peel layer.
Repeat the process for the other images you want to add to your sheet and make sure everything is in the right layer.
Since these are images, unless you send them along with the sheet, they will appear missing when other people open the file. So go to Window > Links and on the expand menu click on Embed Image so everything is embedded to the file.
When everything is ready, save your file as a PDF following the same process from Step 5.
And now you know how to create a sticker sheet with both vector and raster images! With this newfound skill, you can bring your creative ideas to life and share them in a fun and unique way. Whether you're making stickers for personal use, for a special event, or to promote your brand, a well-designed sticker sheet is sure to impress.
Ready to turn your designs into reality? You can order your sticker sheets here. At Jukebox, we pride ourselves on delivering high-quality prints that make your artwork stand out.
Remember, we're here to support you every step of the way. If you have any questions or need further assistance, don't hesitate to reach out. Email [email protected], and we'll help you get started on your sticker journey.
Happy creating!
Choosing the Right Sticker
Choosing the right sticker type for your project can be a daunting task, but understanding the properties of each type can make your decision easier. Below, we've broken down our sticker offerings to help you select the best option for your needs.
Most Popular Options
With so many stickers to choose from, we have selected the four most popular sticker types that are ideal for a wide range of projects. Our Super Matte stickers are highly favored by designers and illustrators for their durability, protective soft matte coating, and long-lasting performance. Standard Matte stickers, while lacking the protective coating, offer vivid colors and excellent flexibility, making them a top choice for sticker sheets and tight curves. Super Gloss stickers are known for their shiny finish and protective coating, ensuring vibrant and eye-catching colors. Finally, Standard Gloss stickers provide a glossy finish and vibrant colors without the added protective coating, offering a great balance between shine and affordability.
💡Looking to test your sticker options? Order your sticker sample pack to see how they work for your project. Get Your Samples Here |
Standard Matte Die Cut Stickers
Comparison of our Super Gloss and Super Matte Stickers
Sticker Type | Durability | Water & Humidity Resistance | Adhesive Strength | Color Vibrancy | Dishwasher Safe |
Super Matte | 4 - 5 years | Excellent | High | High | Yes |
Standard Matte | 3 years | Good | High | High | Yes |
Super Gloss | 4 - 5 years | Good | High | Very High | Yes |
Standard Gloss | 3 years | Good | High | High | Yes |
Special Notes:
All these options are multi-use and the most popular stickers for everything from indoor to outdoor use.
Our standard range has no protective coating, meaning it is thinner and can easily wrap around tight objects.
Super Matte and Super Gloss will be slightly thicker but will last longer.
General Stickers
Sticker Type | Durability | Water & Humidity Resistance | Adhesive Strength | Color Vibrancy | Dishwasher Safe |
Permanent Gloss | 4 - 5 years | Excellent | Extreme | Very High | Yes |
Permanent Matte | 4 - 5 years | Excellent | Extreme | Medium | Yes |
4 - 7 years | Excellent | Extreme | Very High | Yes | |
3 years | Good | Medium | High* | Yes | |
3 years | Good | Medium | Low* | Yes | |
2 months*** | Okay | Medium | High | No | |
2 months*** | Okay | Medium | Very High | No | |
5 years | Moderate | Medium | High | No |
Notes:
*Color vibrancy is dependent on the surface application. See: How do colors show up on transparent stickers?
***Estimate is based on outdoor exposure. After 2 months, colors will start to fade.
Dishwasher Resistance: The "Dishwasher Safe" column denotes the suitability of each sticker type for dishwasher applications. All sticker types are classified as "Yes" for dishwasher resistance, indicating their capability to withstand dishwasher conditions. In contrast, sticker rolls are designated as "No," signifying that they are not suitable for dishwasher use.
Wine Labels: Requires curing time on the bottle surface. Proper adhesion is achieved after a period to ensure optimal performance.
Finding the perfect sticker type for your sticker sheets doesn’t have to be difficult. Discover our guide on sticker sheet stocks and explore our top picks here: Learn More About Sticker Sheets
Specialty Stickers
Specialty stickers offer unique finishes and effects but come with certain limitations. Due to the materials used, color accuracy and vibrancy can be affected, as these materials are not inherently white. For example, holographic stickers may have less vivid colors without a white underlay. To achieve the best color results, we offer a white underlay option for holographic stickers, which enhances color vibrancy and detail. Consider these factors when selecting specialty stickers for your project to ensure they meet your expectations.
Holographic Glitter stocks with white underlay applied
Black ink is the most popular choice for our specialty stocks. (Matte Gold Sticker)
Sticker Type | Durability | Water & Humidity Resistance | Adhesive Strength | Color Vibrancy | Dishwasher Safe |
Up to 5 years | Good | Very High | Low | Yes | |
2 - 3 years | Good | High | Low* | Yes | |
2 - 3 years | Good | High | Low* | Yes |
Notes:
High color vibrancy is achieved with a white underlay.
Industrial Grade
Our Industrial Grade stickers are engineered to withstand harsh conditions, making them suitable for applications requiring robust performance and durability. Ideal for difficult applications, textured surfaces, and environments exposed to harsh chemicals and oils.
Sticker Type | Durability | Adhesive | Water Resistant | Color Vibrancy | Dishwasher Safe |
Up to 7 years | Ultra High | Yes | High | Yes |
To ensure you select the perfect sticker for your project, we highly recommend ordering our sticker sample pack. This allows you to see the quality firsthand and test the stickers on various applications. Order your sticker samples here.
What are Kiss Cut stickers?
Kiss Cut stickers mean that the inset of each individual sticker will be partially cut to the shape of your logo / design, but not all the way through so you can easily peel it off from the backing.
The backing material is larger than the sticker itself and light surface cuts are made along the border of your logo / design, cutting through only the sticker (barely "kissing" it) and keeping the backing paper intact. This method makes for easier removal as the sticker is peeled away from the adhesive border and the paper backing remains.
Backings are available in our standard shapes: circle, oval, rectangle and square, but you also have the option to upgrade to a custom shape to match your inner sticker shape.
Are your stickers oil resistant?
Yes, our vinyl stickers and sticker rolls are oil resistant. However, it is important that the surface is completely dry and smooth prior to application.
Are your stickers waterproof?
All of our stickers are printed on the strongest vinyl and are therefore waterproof. We use scratch resistant inks so your custom printed design will remain unaffected and last long.
It is important to note that while our stickers can withstand moist conditions, some are more ideal for outdoor and industrial use such as our Permanent Gloss, Permanent Matte and Reflective stickers; and others like our Transparent, Super Gloss / Matte Transparent, and Standard Gloss / Matte are better for light and indoor applications.
We highly recommend ordering our Stickers Sample Pack so you can test them for your needs before ordering.