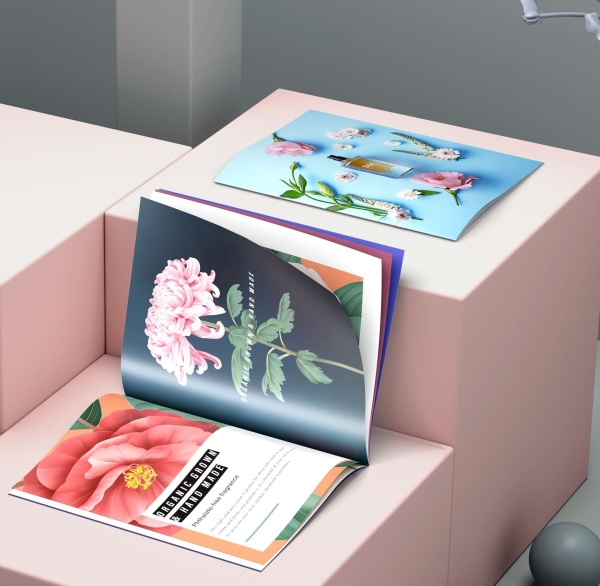
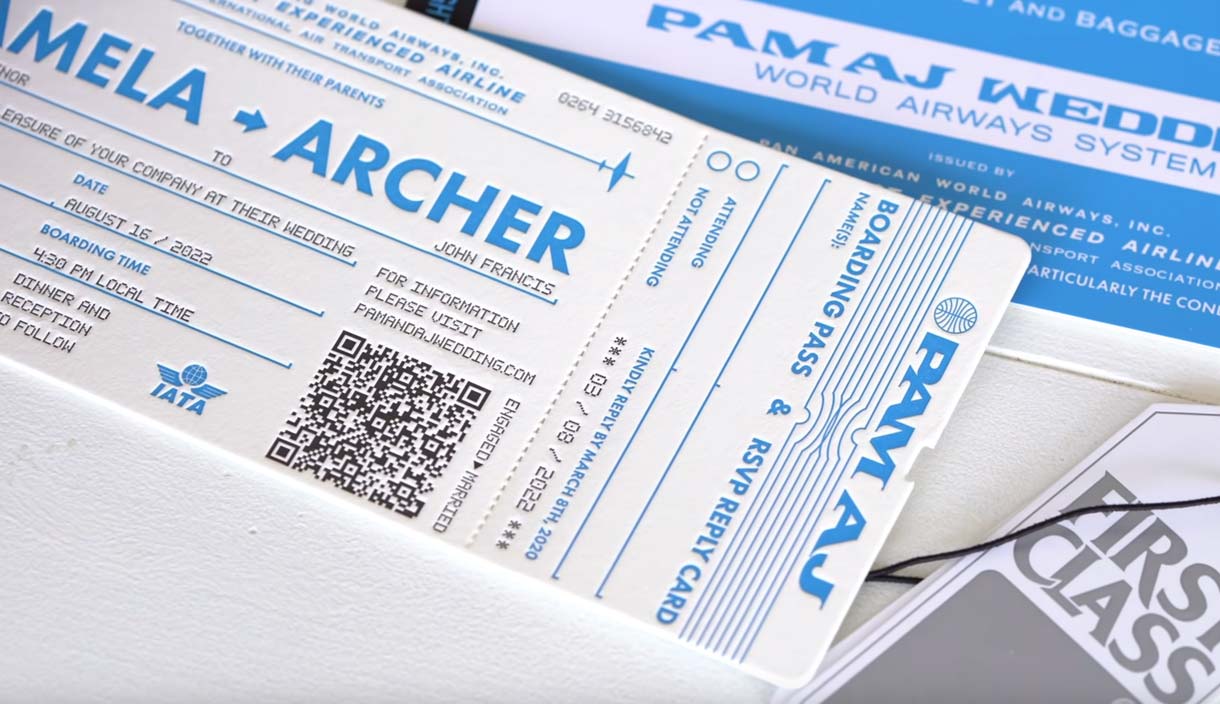
There are plenty of options to choose from when you need to have something printed. How thick should the paper be? Matte or glossy finish? But often we’re still thinking of a white material base but with Jukebox you’re able to use white ink on colorplan paper. Sure, it looks very cool but there are many benefits of choosing this method.
Interested in how to make these for yourself? Understandable. So let’s dive in.
Step 1: Set Up Your File
Create a new Illustrator document with your desired size.
In the ‘Artboards’ section, set the amount to 2.
Set the Bleed size to 0.125 inches and make sure the Color Mode is set to CMYK.
In case you’ll be adding Raster images, set the Raster Effects to ‘High (300ppi).
Click ‘Create’.
Step 2: Place Your Front Design
You now should see your 2 blank artboards.
Place the frontside of your business card in the left artboard.
Make sure to fill the Bleed with the background and keep important elements within 0.125 inches from the artboard edge.
Step 3: Place Your Back Design
Do the same for the backside of your business card and place this in the right artboard.
Step 4: Create a Spot Color for the White Ink
Now we need to create a Spot color for the white ink which is an essential part of this process to know for the printer where to place the white ink.
To do this, head over to your Swatches panel and click the ‘+’ icon in the bottom of the panel. (In case you find it easier to see the names of each Swatch as well you could switch views by clicking on the hamburger menu and select ‘Large List View’.
Set the color levels to your own preference and it doesn’t have to be white. In the ‘Color Type’ dropdown, select ‘Spot Color’. Name your swatch ‘White’ so it’s clear that everything with this color needs to be printed with white ink. Click ‘OK’.
In both the list view and the thumbnail view of your Swatches you’ll see an icon added to your swatch. This indicates it’s a Spot color and in case you’ve completed these steps correctly and you see the Spot color icon as well, we can proceed to the next step!
Step 5: Determine Your White Layers
After you have placed the frontside and backside of your business card, it’s time to determine what needs to get white ink.
Usually the parts in your design get labeled as a ‘Paper’ swatch because white paper is the most common material for paper printing. Everything white in your design is then left out because of the base color of your paper. That’s why the white swatch is called ‘Paper’ instead of ‘White’.
But now you’re working with coloured paper, we have to change this up and combine all white elements into one layer named ‘White Ink’.
To do this in Adobe Illustrator, go to your Layers Panel and click the ‘+’ button in the bottom right corner. Change the layer name to ‘White Ink’ and make sure all of your white elements are pasted into this layer.
To make sure those elements are placed in that layer you can toggle the layer’s visibility on and off using the ‘Eye’ icon on the left.
In case your artwork doesn’t have any parts that need to be treated with white ink, you still need to create an extra layer with white ink as an underlay to make it visible after printing. To give you an idea of what happens if your artwork doesn't have a white layer to sit on, let’s have a look at these examples:
Unless it’s the look you’re going for you really need to add a white layer as a complete underlay below everything that needs to get printed.
To do this just select everything on the page and go to your Pathfinder panel (Shift + Cmd + F9) and click ‘Unite’. Now make sure everything has the swatch ‘WHITE’ we just made.
Step 6: Outline Text
This is only required in case you won’t be exporting your file to a PDF. To avoid any font related issues during production, you then should convert all your text to outlines. PDF files do this automatically but when a different file format is required, you’ll need to convert it to outlines.
Select your text and go to Text > Create Outlines.
Make sure to keep a backup of a version including the editable text in case you’ll need this in the future.
Step 7: Double-Check Your White Layer
To make sure the right elements are placed into the ‘White Ink’ layer before exporting, toggle the layer visibility on and off and see if there are any elements still located in the other layer.
Step 8: Export Files
Now you’ve checked everything and you’re happy with your design, it’s time to export your artboards correctly.
So let’s head over to File > Save a Copy. Name your file and set the format to PDF.
Set the range to ‘1’ so you can create separate files for each side.
Click ‘Save’.
Choose ‘High Quality Print’ in the Adobe PDF Preset.
In the ‘Compression’ section, make sure this is set to a minimum of 300.
In the ‘Marks and Bleeds’ section, make sure all Marks are disabled as you don’t need to add any crop marks to the PDF.
Check the ‘Use Document Bleed Settings’ option to add the 0.125” Bleed margin we added while setting up the document.
Click’ Save PDF’.
Ideally, your files would look like this:
Business-Card_Front.pdf
Business-Card_Back.pdf
Step 9: Final Check
Because it’s such an important factor of the process of printing with White Ink, we would recommend double-checking if the Spot color is added correctly.
You can do this by dragging your file into Adobe Acrobat and head over to ‘Print Production’ in the toolbar. (In case you can’t find this option you can add it by going to the ‘Tools’ window in the menu)
Click on ‘Output Preview’.
You now see all used colors inside this document and it’s divided into 2 separation channels, ‘Process Plates’ and ‘Spot Plates’.
When you uncheck the ‘Process Plates’ you can see what parts are treated with a Spot Color and as we mentioned earlier, every part that gets printed should have an overlay of white ink.
All good? Perfect! Now you’re ready to upload your files and our Prepress Team always checks your files and is there to help you out where needed. So get in touch with us in case you have any questions.
That’s it! You can now upload the files and we’ll know exactly how to produce your Colorplan business card with White Ink. This is going to be great!
Over the moon with the prints you received from us? We get that a lot and we love to hear it. So don’t forget to use #jukeboxprint or @jukeboxprint so we can share it in our Stories!